Mandate Order Starting Stronghold Tips
Turn a frontier spawn into a defensible commandery without undoing your logistics spine.
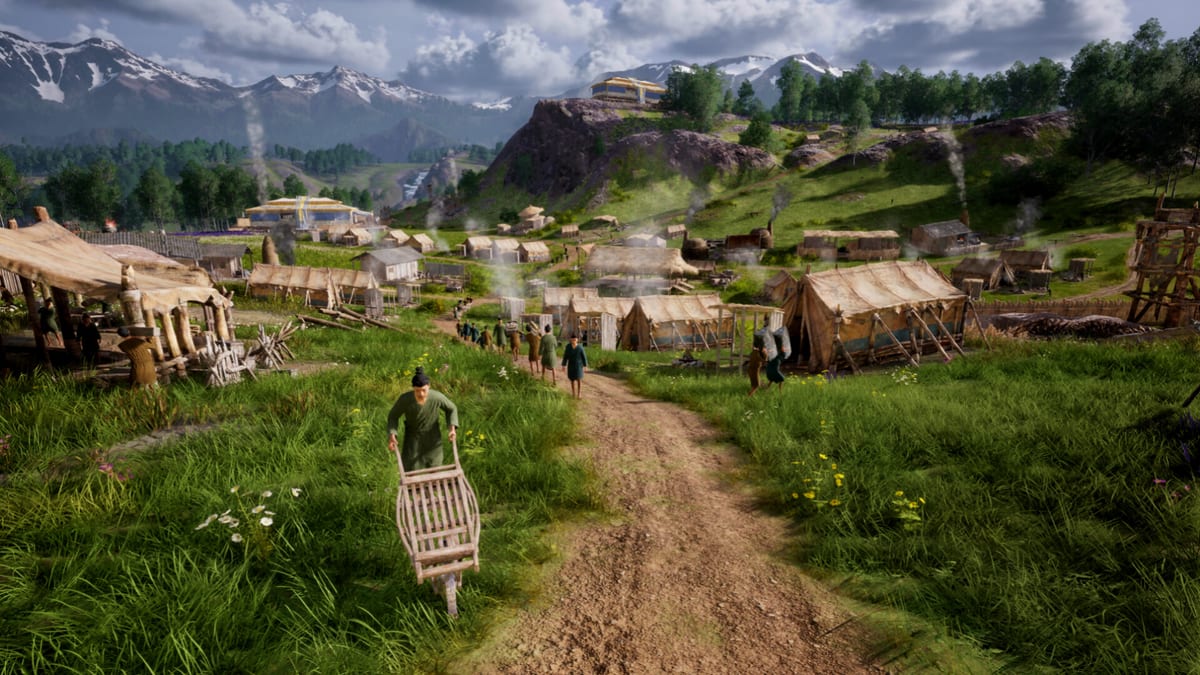
Your starting stronghold is the first district Mandate Order evaluates when migrants arrive, harvests fail, or invaders march. Digital Sky drops players on a frontier map with freeform build freedom, which tempts sprawling beauty shots before wells work. These tips convert the terrain and resources survey into a week-one stronghold plan: where to anchor, what to defer, how to reserve wall lines, and when expansion helps versus hurts courier throughput.
Apply the plan with getting started and opening build order. Stronghold tips fail if you ignore how to manage logistics—walls cannot eat ore that never crossed the river.
Pick a core before placing monuments
Within the first five minutes, choose a compact core using three rules:
- Water inside walking distance for every hut you plan this season.
- Flat farm band adjacent or one short road away—not three cliffs over.
- Interior high ground you can later crown with a tower without relocating housing.
Mark a rough polygon mentally—even if the game lacks formal zones—where all early industry must stay. Anything built outside the polygon is expansion, not core.
If the spawn lacks all three rules, consider restarting before investing prestige labor. Early Access time is finite; bad seeds exist.
Orient toward invasion vectors early
Previews assume enemy camps and escalating invasions. You do not need full walls immediately, but you should identify primary approach roads during the first camera lap. Ask:
- Which gentle slope leads straight to your planned granary?
- Where could siege engines set up if trees were cleared?
- Can cavalry swing a flank because you left a ridge unowned?
Reserve gate slots on that vector even if gates are wooden palisades later. Rotating gatehouses wrong relative to courtyards breaks formations and line drawing during sally maneuvers—fix orientation at placement time using camera and construction.
Stronghold layering: core, yard, curtain
Think in three rings:
Core ring
Housing, wells, granaries, administrative structures, and retainers close to water. Keep this ring dense to shorten courier paths. Satisfaction systems punish scattered hovels without fuel.
Yard ring
Workshops, warehouses, freight stations, and courier posts. This ring consumes the most haul traffic. Lay a road spine before filling the yard with duplicate mines or kilns.
Curtain ring
Walls, towers, gates, armories, and barracks hugging chokepoints. Armories belong here only if gear can still arrive from yard workshops without crossing the enemy approach under fire.
Skipping yard discipline and jumping to curtain walls creates the classic preview failure: pretty ramparts, empty racks, conscription blocked.
When to expand outward versus fortify inward
Expand outward when:
- Granaries and freight stations keep up with new farms.
- You secured a secondary ore or timber pocket with its own warehouse, not a long naked road.
- Diplomacy or trade rewards a forward market—not before core satisfaction is stable.
Fortify inward when:
- Invasion timers tighten and armories already stock mixed gear from production chains.
- Courier backlog shows expansion outran haul capacity.
- Disasters threaten outer farms—pull storage inward and protect granaries first.
Adjustable difficulty from Steam tags lets you practice inward defense before hard timers; save before toggling upward.
Gate and wall tips specific to starting maps
- Do not seal your only freight corridor inside the curtain without a sally plan.
- Stagger towers to cover dead ground identified in terrain survey.
- Leave courtyard space for formation drills—drawing lines inside cramped yards fails in beta pathing.
- Short wall segments covering the approach beat long decorative walls you cannot patrol or resupply.
Detailed siege roles appear in walls and siege.
Armory and barracks staging near the curtain
Place barracks where soldiers reach rampart stairs without crossing workshop districts. Place armories between barracks and yard workshops so wartime resupply does not reverse through housing.
Test the chain in peace:
- Produce a batch of weapons in a workshop.
- Confirm freight moves them into armory storage.
- Conscript a small squad via how to conscript.
- Draw a shallow formation line on an empty wall face using PC controls.
If any step fails, fix yard logistics before adding wall length.
Retainers and stronghold identity
Early retainers from the Hundred Schools reshape stronghold priorities—Agriculturalism rewarding farm timing, Legalism pushing administrative efficiency, Militarism biasing barracks expansion. Recruit after core stability using how to recruit retainers; do not let retainer hype skip wells.
Stronghold identity is also map identity: a river city emphasizes cross-bank freight; a hill city emphasizes towers and elevation archers.
Seasonal stronghold calendar
Spring
Survey expansion farms; repair roads melted by winter traffic if mechanics apply; plant before chasing walls.
Summer
Expand yard capacity—charcoal, tools, early weapons—while monitoring courier load.
Autumn
Harvest into granaries; test fuel delivery; pre-stock armories before festival raids in some preview scenarios.
Winter
Defend inward; prioritize satisfaction fuel; avoid starting mega-wall projects unless stone stockpiles sit beside the curtain.
Seasonal detail lives in how to farm by season.
Multiplayer of systems: diplomacy without forgetting map
Even solo campaigns eventually engage diplomacy, trade, and titles. Forward expansions toward neighbors change invasion angles. Keep a diplomatic road separate from your military choke when possible so trade embargoes do not destroy freight logic.
Early Access restart guidance
Restart if:
- Core bank lacks water and arable land within one road spine.
- Primary invasion vector points at your only granary with no tower high ground.
- Ore and timber sit in opposite map corners with no mid-map warehouse site.
Do not restart because one battle went poorly after a fixable logistics error—save and repair yard rings first.
Stronghold week-one checklist
- Core ring serving water, food, and fuel plans.
- Yard ring with tested freight between farms, workshops, warehouses.
- Curtain plan sketched with gate orientation toward primary approach.
- Armory-barracks pair tested with small conscription and formation drill.
- Expansion zones labeled on terrain survey screenshot.
- Saves before difficulty increases or major wall commits.
Future tools may score stronghold layouts; today, checklists beat guesswork.
From stronghold to state
Digital Sky’s marketing asks whether a city can become a state—titles, diplomacy, and Mandate of Heaven rhetoric, not only wall height. Stronghold tips get you through invasions alive; guides and combat hubs carry mid-game ambition once your frontier ring survives the first exam.
Build the stronghold map readers warned you about: compact core, honest yard, curtain at the choke, armories that actually fill before the horn sounds.
Frequently Asked Questions
Quick answers drawn from Early Access systems and common player questions.
How big should my starting stronghold be?
Keep the core compact until granaries, water, and freight work. Expand outward only when couriers keep pace with new farms and workshops.
Should I wall the entire city in week one?
No. Wall the primary approach with short segments and towers first. Full enclosures fail if yard logistics cannot supply armories.
Where should the armory sit?
Between yard workshops and barracks near the curtain, with tested freight paths before large conscription.
When should I restart the map?
Restart early if water, farmland, and ore layout fight a single road spine. Do not restart for one fixable logistics mistake mid-game.
How do stronghold tips connect to combat guides?
Gate orientation, elevation, and courtyard space determine formation success. Read walls and siege after applying these tips.