How to Defend a Siege in Mandate Order
Walls, towers, siege engines, and real-time formations when enemy camps test your city.
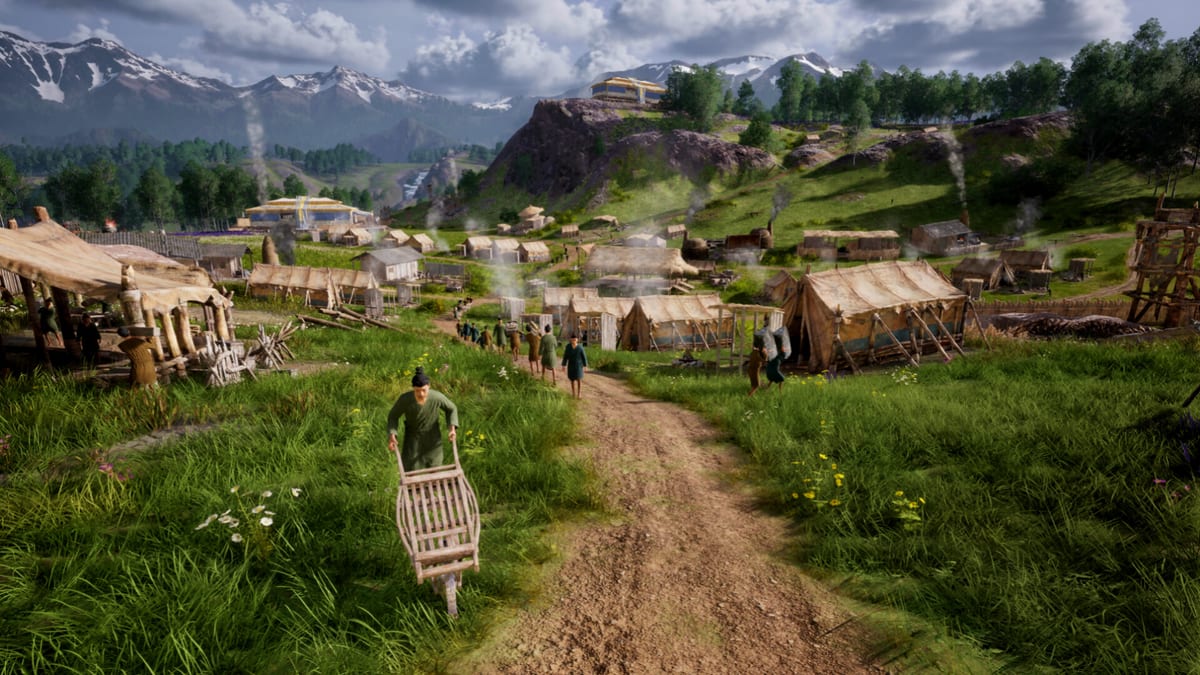
Sieges in Mandate Order are the moment your city plan meets friction. Digital Sky’s real-time battles play out on the same freeform map where you laid roads, granaries, and armories—so a beautiful district that cannot resupply towers during combat is a liability. Defense combines static engineering (walls, towers, ballistae, catapults), mobile units (infantry, cavalry, chariots), and logistics you prepared in peace via how to manage logistics and how to conscript. This guide focuses on holding the settlement when enemy camps escalate from raids to full assaults during Early Access.
Before the first horn: peacetime checklist
Identify the most likely approach vectors—open plains favor chariot rushes; narrow valleys favor layered walls and tower crossfire. Stock armories near barracks with weapons and armor before you need them; conscription during battle drains the same pools your economy uses. Keep fuel and food routes redundant so satisfaction does not collapse mid-siege when couriers reroute. Walk your garrison size against worker loss: stripping every farmer may win one fight and lose the next harvest described in how to farm by season.
Wall lines and tower placement
Gridless construction lets you follow terrain, but effective walls still obey geometry. Anchor on cliffs and rivers where possible to shorten frontage. Towers extend range and provide elevated fields of fire for archers and engines; place them where they cover each other’s blind spots rather than evenly spacing for aesthetics. Leave sally ports deliberately—sealed cities cannot sortie to burn enemy rams. Short, well-supplied walls beat long unfinished segments enemies pick apart.
Siege engines: ballistae and catapults
Ballistae excel at picking off climbers and lighter vehicles on approach lanes. Catapults trade rate for area punishment against clustered infantry or siege constructions. Assign clear firing arcs before battle so you do not shell your own markets. Engines consume ammunition and crew attention; if logistics pause, engines go silent even with towers intact. Pre-position ammo warehouses within pull range or assign freight stations to refill during lulls.
Formations and line drawing
Combat uses real-time control with formation lines you draw across the ground. Infantry holds choke points; cavalry and chariots punish breaks in enemy lines on open ground. Practice rotating fresh units through the line before Early Access hardens AI timing. Chariots are devastating on flats but vulnerable to focused missile fire—use them as shock after towers soften ranks, not as solo rush tools. Sync retreats to inner gates where secondary lines wait.
Layered defense in depth
Plan three zones: an outer kill box with traps and missile towers, a wall line with infantry anchors, and an inner keep with reserves and supply caches. When the outer zone falls, fall back without panicking—abandoned towers still cost rebuild time. If enemies bring their own siege engines, sorties targeting rams may outperform passive wall soaking. Retainers from Militarism or related schools may alter drill or morale; see how to recruit retainers when choosing long-term military advisors.
Logistics under fire
Couriers obey the same rules during battle. If freight stations only served peacetime clay routes, armories may empty while smithies sit idle one district over. Prioritize weapon and food freight orders in the station queue before declaring readiness. Granaries near inner districts prevent satisfaction collapse when outer farms are temporarily unreachable. Winter sieges stack fuel pressure—cities that skipped charcoal planning in summer lose morale twice as fast.
Diplomacy and ritual pressure
Disasters and morale shocks tied to ritual neglect can spike during prolonged sieges. Maintaining worship structures and thoughtful national policy is not separate from defense—population panic routes through the same satisfaction systems as food shortage. Diplomatic truces may buy time to finish walls; do not assume they replace armory stock.
Aftermath and rebuild discipline
Breaches reveal which routes failed, not which single unit type was wrong. Repair walls from the inside out, restore armories before re-conscripting mass levies, and resume farm couriers before cosmetic rebuilds. Cross-check getting started principles: compact recovery beats sprawling vanity projects while raiders still probe borders.
Learning from preview battles
Closed beta footage shows large-scale clashes with mixed infantry, cavalry, chariots, and engine fire—similar tone to the official trailer on How to Play. Early Access AI and unit counts may differ; rehearse fundamentals (tower fields, armory proximity, formation fallback) rather than memorizing beta-specific timing tricks that patches may invalidate.
Frequently Asked Questions
Quick answers drawn from Early Access systems and common player questions.
Should I wall the entire city early?
No. Wall critical approaches first with towers and supplied armories. Overlong walls you cannot garrison waste stone and hide logistics gaps.
Do catapults friendly-fire?
Plan firing arcs carefully—engines hit areas, not single duel targets. Keep own troops out of blast lanes and use towers for precision.
Why did my garrison spawn without gear?
Conscription requires weapons and armor in armories within range. Fix freight and smithy output before raising more units.
Are chariots worth the upkeep?
On open maps, chariots provide shock after missile soften. In tight terrain, invest in towers and infantry anchors instead.
What is the first fix after losing a siege?
Restore logistics trunk routes and armory stock, then rebuild walls on shorter frontage. Starvation and empty racks lose rematches faster than thin towers.