Mandate Order Camera and Construction Controls
Navigate the frontier map precisely and place roads, districts, and defenses where couriers and soldiers can actually reach.
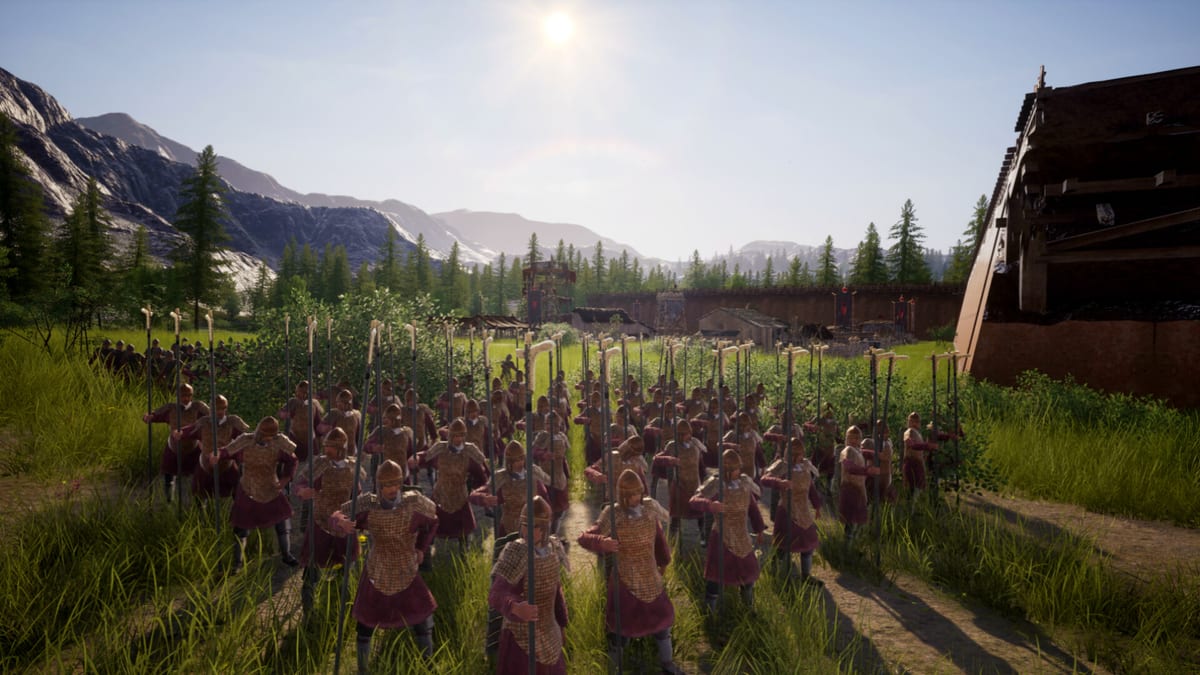
Mandate Order’s frontier map is one continuous space where camera skill equals economic skill. Freeform construction means peasants walk every meter between wells, farms, warehouses, workshops, and armories. If you place structures from a beauty shot zoom level, you will misjudge pull ranges, road bends, and wall segments—then blame logistics or AI when the real failure was camera discipline. This guide covers navigation, placement, and road tools that pair with PC controls battle inputs and build planning advice.
Early Access on Windows expects mouse-driven camera with optional keyboard rotation modifiers. Steam’s mouse-only tag matters here: learn edge scrolling or middle-mouse pan patterns that do not require holding WASD.
Camera navigation fundamentals
Panning
Middle-mouse drag is the most precise pan for aligning wall segments with terrain ridges. Edge scrolling helps mouse-only players but causes accidental movement when cursor hits screen borders during panel clicks—reduce sensitivity if needed.
Pan along actual pedestrian paths before confirming placement. Mandate Order does not abstract walking; a straight-line distance lie breaks freight.
Zooming
Use the mouse wheel to switch between three mental modes:
- District zoom: placing homes, wells, and granaries within practical walking distance.
- Corridor zoom: laying roads and watching courier routes between warehouses and workshops.
- Strategic zoom: identifying invasion approaches and future wall lines from map advice.
Avoid placing military or logistics buildings only at strategic zoom. Gate misalignment discovered during a siege is expensive.
Rotation
Rotate with Q/E keys or middle-mouse alternatives depending on your bindings. Rotation is essential when:
- Running wall segments parallel to diagonal rivers.
- Orienting gatehouses toward expected enemy roads.
- Checking whether a workshop front faces the freight station you think it does.
After rotating, pan once more at district zoom to confirm entrances align with roads.
Construction mode workflow
Construction follows a repeating loop: open category → pick structure → ghost preview → rotate → confirm → connect road. Treat each step as camera work, not menu work.
Valid placement feedback
Ghost previews change color or outline on invalid slope, blocked tiles, or insufficient resources. Slow down when the game flashes warnings near hills—terrain and resources explains which slopes become farms versus mines.
Rotation while placing
Use R or mouse wheel during placement to rotate workshops and gates toward haul routes. A rotated kiln facing away from clay storage adds invisible travel time that panels attribute to “missing workers.”
Cancel and undo habits
Esc or right-click empty ground clears selection. Early Access may not offer full undo chains—save before terraforming or deleting warehouse hubs linked to armories.
Road laying controls and logistics reality
Roads are the primary control surface for logistics. Couriers and peasants follow paths you define; shortcuts through hills look efficient on minimap but stall when pathfinding chokes.
Click-drag road tool
Activate the road tool, then click-drag segments between districts. Best practices:
- Build a spine from housing to storage to industry before sprawl.
- Avoid single-tile chokepoints between farms and granaries.
- Leave corridor width for future wall lines without deleting the only freight route.
- Upgrade road quality when previews or patch notes expose tiers—upgrade timing appears in guides.
Testing a road
After laying a segment, follow it manually with the camera at peasant eye height metaphorically: watch whether the path bends around cliffs you ignored at strategic zoom. If clay haulers stall, fix roads before duplicating workshops.
District placement patterns
Housing and water
Cluster homes near wells along river bends when terrain allows. Camera-pan the river length before choosing a core—moving a well later wastes labor from opening build order.
Farms and granaries
Place fields on flat arable tiles visible at district zoom. Position granaries where both field couriers and kitchen demand overlap. Seasonal timing details sit in how to farm by season.
Industry and armories
Workshops belong between raw storage and finished goods destinations. Armories belong near barracks and future walls, not only near mines for screenshot symmetry. Gear still must path from production to storage to muster point.
Defensive construction camera work
Walls, towers, and gates require per-segment camera attention:
- Walk the invasion approach at strategic zoom.
- Drop a temporary marker road or placeholder if the build menu supports it.
- Place wall segments segment-by-segment at district zoom.
- Confirm gate orientation faces outward toward enemy roads.
- Reserve sally port space with rotation checks before sealing the circuit.
Siege combat controls from formations and line drawing fail if gates were placed while rotated wrong relative to courtyards.
Terrain and elevation inspection
Previews highlight elevation advantage for archers. Rotate camera downhill/uphill when placing towers to see whether higher ground covers approach roads. Map lists resource tiles; camera inspection lists line of sight reality.
Minimap and overlay usage
When minimap updates arrive—roadmap mentions a blue-and-green landscape minimap—use overlays to jump camera focus, not to replace local verification. Jump to suspicious stall icons, zoom to district level, then open building panels.
Performance-aware camera settings
Large cities stress GPU and CPU. If frame rate dips when panning quickly:
- Reduce zoom sensitivity to avoid overshooting placement clicks.
- Close overlay panels when not actively configuring freight.
- Lower graphics presets per system requirements before blaming input lag.
Digital Sky lists performance among Early Access priorities; camera stutter may improve patch-to-patch.
Mouse-only construction checklist
- Edge scroll enabled with comfortable speed.
- Pause button reachable without keyboard.
- Wheel zoom inverted to taste.
- Save before deleting central roads.
- Compact core layout from city layout to minimize pan distance.
Connecting camera skill to combat
The same camera that places armories correctly also draws formation lines on walls. Practice rotating to face each wall face before dragging lines; a diagonal camera hides gaps in archer coverage.
When comfortable, rehearse sally maneuvers on adjustable difficulty with saves between waves—see how to defend a siege.
Future tools support
Printable layout grids or measurement helpers may appear in tools as the community maps pull ranges. Until then, camera discipline and road testing are the measurement tools.
Construction controls are simple clicks; mastery is seeing the city your peasants must walk. Zoom in, rotate, lay roads honestly, then let combat guides teach what happens when invaders test the map you built.
Frequently Asked Questions
Quick answers drawn from Early Access systems and common player questions.
Why does Mandate Order punish zoomed-out building?
Logistics uses walking paths, not global teleports. Structures placed at strategic zoom often sit outside practical courier range once you zoom in.
Should I rotate the camera before every wall segment?
Rotate before long wall runs and gate placements so segments align with terrain and approach roads.
How do roads relate to courier controls?
Roads define haul paths. Lay and upgrade them with the road tool, then configure warehouses and freight stations in logistics panels.
Can I undo a misplaced warehouse?
Early Access undo support may be limited. Save before major placements and delete/rebuild carefully to avoid orphaning freight routes.
Where do I learn battle camera after construction?
Move to PC controls for formation drawing on the walls you just built.