How to Handle Invasions in Mandate Order
From first scout reports to siege recovery—military responses tied to logistics, walls, and formations
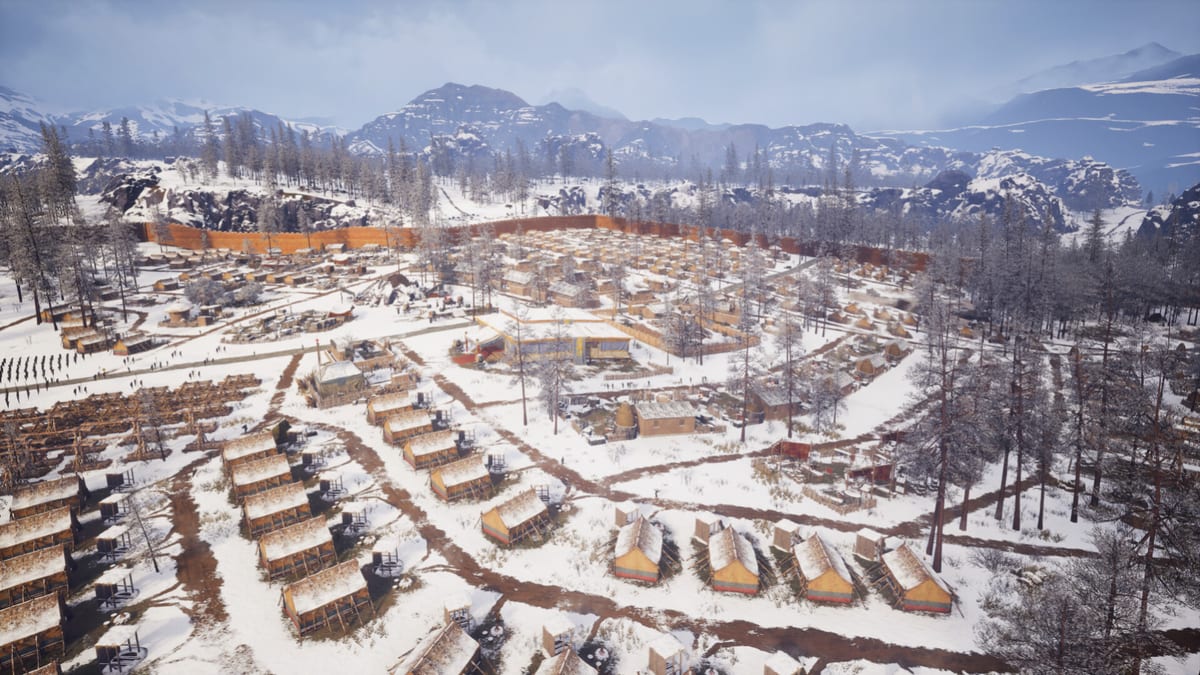
Invasions in Mandate Order are not isolated arena fights. Digital Sky designed a Warring States war city-builder where enemy armies march on the same map as your farms, workshops, and couriers—testing whether you converted production into equipped soldiers, intact walls, and readable supply lines before the first ram hits a gate. Phase 20 Steam news later confirmed invasion mechanics were adjusted alongside start-of-game improvements; treat invasion timing and escalation as living rules you re-verify after patches listed on Phase 20 invasion and start and the updates hub.
This guide complements how to defend a siege with a full campaign lens: scouting, preparation, battle execution, recovery, and when diplomacy from diplomacy and policy beats heroic last stands.
Mental model: invasion as logistics exam
Before studying troop micro, accept the developer’s repeated design thesis: sieges fail when gear never reached armories, couriers chose vanity routes, or conscription drained farmers before autumn storage finished. Invasions surface those failures under time pressure.
Walk this chain before any war declaration:
- Food and fuel buffers from how to farm by season and population and satisfaction.
- Weapon throughput from production chains into armories within barracks range.
- Wall segments you can man without emptying every workshop—see walls and siege.
- Formation literacy from formations and line drawing so lines do not collapse at gates.
If any link is weak, the invasion is not the primary problem—freight is. Fix how to manage logistics before researching enemy composition.
Phases of an invasion response
Phase A: telegraph and intelligence
Early Access materials show scouts and approaching armies giving readable telegraph time—exact UI labels may shift, but the strategic habit remains: never be surprised while a workshop is mid-expansion without couriers assigned.
When telegraph appears:
- Pause optional construction that steals stone or timber from repairs.
- Snapshot armory counts by troop type using troop types categories.
- Identify approach roads from map knowledge—chokepoints beat hero units.
- Check retainers and policy debuffs from how to recruit retainers that might delay mobilization.
Phase B: mobilization without economic suicide
How to conscript workers only when armories hold kits. Mid-crisis mass conscription removes haulers exactly when repair stone must move.
Mobilization checklist:
- Pre-assign garrison troops to wall faces before outer fields burn.
- Keep a reserve group near inner gates with a second equipment lane.
- Pause nonessential freight routes in warehouses and storage to prioritize weapons and repair materials.
- Avoid pulling every miner if siege engines need arrow components from workshops.
Use conscription readiness if you want a structured pass before battle.
Phase C: battle execution on walls and fields
Wall fights want archers elevated, polearms at chokepoints, and shields stabilizing gate mouths—detailed mixes live in troop types and units overview.
Formation drawing rules during invasions:
- Draw shorter lines you can fill completely rather than thin fantasies spanning entire districts.
- Anchor flanks on towers or terrain—not on courier roads peasants still need.
- Rotate damaged groups behind inner courtyards instead of chasing routed enemies beyond walls unless a sally is deliberate.
- Focus fire on siege engines before they stack at one gate; engines define breach timers.
Open-field fights after failed diplomacy use the same units with more flanking risk. Prefer fighting where city layout gives you interior fallback rings.
Phase D: breach recovery
Breaches mean real-time fighting inside your city—not a cutscene. Prepare inner fallback lines, armory lanes behind the break, and courier paths that do not exit through the hole.
If breach recovery fails, audit logistics before blaming AI:
- Did reinforcements lack spears because armory two was out of range?
- Did repair stone sit in a warehouse across a burning district?
- Did pathfinding stall at a single-width gate you widened too late? Demo and EA coverage both emphasize pathfinding in dense layouts—see demo and playtests.
Phase E: post-invasion stabilization
Winning still costs labor: replant burned fields, rebury dead, restock armories, and pay diplomatic consequences if you broke treaties. Overlapping calamity or ritual pressure from calamity and sacrifice and ritual and disasters can stack if you ignore worship debt during war season.
Schedule recovery before accepting the next alliance war. Roadmap beats on Early Access roadmap—field hospitals in October, defensive equipment in December—may change how costly Phase E becomes once they ship.
Diplomatic alternatives and timing
Not every invasion must end at the wall. Diplomacy and policy may offer tribute, ceasefires, or alliance calls—each with economic costs competing with freight capacity.
Choose diplomacy when:
- Armories are below one reinforcement wave.
- Winter fuel is already marginal.
- A second army telegraphs while the first siege is unresolved.
Choose defense when:
-
Breach would destroy irreplaceable warehouse clusters.
-
Surrender terms would cancel building upgrades plans you already financed.
-
Retainer doctrines reward standing firm for long-term bonuses.
Difficulty, Phase 20, and roadmap context
Steam lists adjustable difficulty in feature categories—see Early Access FAQ. Sliders may tune invasion pressure independently of economic challenge; verify labels after Phase 20.
Future Panda Warriors (November roadmap) and defensive equipment (December) can alter invasion puzzles—read Panda Warriors when those units ship without assuming demo-era counters still apply.
Common failure modes
Empty armory, full warehouse elsewhere: classic non-global logistics failure—fix freight, not formations.
Win the wall, lose the economy: over-conscription left fields unharvested; famine follows victory.
Perfect wall line, zero reserves: single breach ends the campaign because every soldier was on the outer face.
Chasing invaders forever: sally discipline matters; see walls and siege sally port guidance.
Ignoring rituals during war: disaster debt may fire plague or drought exactly when couriers are busiest—balance systems layers.
Suggested training regimen
- First map: survive one invasion using only getting started economy—no fancy diplomacy.
- Second map: pre-stock armories to two waves before first telegraph.
- Third map: intentional breach drill with inner fallback drawn in advance.
- After each major patch: one invasion replay documented in notes or tools checklists.
Related pages
- How to defend a siege for wall-specific tactics.
- Combat hub for unit and formation references.
- Build hub for industrial prerequisites.
- Review hub for EA scope and difficulty facts.
Invasions reward cities that already worked in peacetime. Handle them by fixing supply chains first, walls second, and formation clicks third.
Frequently Asked Questions
Quick answers drawn from Early Access systems and common player questions.
Did Phase 20 change how invasions work?
Steam news cites adjusted invasion mechanics. Re-test scout timing and army behavior after updating; this guide stays system-focused until detailed patch notes publish.
Should I conscript everyone when invaders arrive?
Only if armories can equip them without halting repairs and hauling. Over-conscription often causes post-siege famine.
What is the first logistics check during an invasion?
Confirm weapon and repair material routes from production chains to walls and armories near barracks.
Can diplomacy stop invasions?
Sometimes, via tribute or ceasefires in diplomacy and policy. Each option has economic costs.
Where do siege-specific tactics live?
See how to defend a siege and walls and siege for engines, breaches, and towers.